Showing posts with label Creative Scraps by Peggy Lee. Show all posts

Monday, October 21, 2013

Boo Pumpkin Sign

Happy Monday morning to everyone, it's a cool brisk morning we are waiting for snow to show up any day...so with that said I wanted to create a little boo pumpkin sign for Halloween! Which it usually snows on Halloween night and the kids are adorable walking in a snow flurries!!!
Boo Pumpkin Sign
I grabbed a drink coaster and covered it with pattern paper pack I picked up a few weeks ago.
By Crate Paper 6x6 in pad DIY Shop
I so loved it for the wood grain paper that was in the pad.
I went through the pad picking out papers for the pumpkin that I cut out on my Cricut.
Then cut one of the pumpkins in quarters to create a two tone pattern paper.
Inked the edges in Distressed ink-walnut ink.
Popped them up from bottom layer to give depth.
Created some rolled paper roses out of the papers...and leaves..
Cut out tiny little banners out and used Prima alphabet Romance Novel line.
Splattered the whole sign with Perfect Pearls Mists in Heirloom Gold.
and 
Added some touches of CTMH Glitter Gel in Bronze
added some twine...done...adorable!
Thanks for stopping by today,
Peggy Lee
http://pegbaker.blogspot.com

supplies
Crate Paper 6x6 paper pad
Prima-Romance Novel Alphabet letters
Ranger-Distress ink in walnut ink, Perfect Pearls Mist in Heirloom Gold
CTMH-glitter gel in bronze
coaster
3-n-1 glue from Beacon
Twine


Monday, September 23, 2013

Poster Tidings "JOY" Card

Here as promised I am sharing the other image of the Poster Tidings Stamp image that I shared last Monday using the fall stamp image.
The "joy" stamp image makes a beautiful and classic card...with using some holiday themed papers, stamps and glitter paper!!!
I took the Poster Tidings "joy" stamp dabbed into the slate ink...
over and over to give depth and texture
when stamped!
I love how the stamp image looks like real stone.
Cut out little glitter banners
out of silver glitter paper.

I just love the SPARKLE!!!!
Thanks for stopping by today,
hugs
Peggy Lee

Supplies:
CTMH: Frosted Papers,
September SOTM Stamp-Poster Tidings
Slate Ink
Glitter paper
Sparkles

Monday, July 1, 2013

4th of July Tri-Fold Mini

Let the 4th of July Celebration begin!
With the 4th among us this week I wanted to create a little tri-fold mini to sit upon the table for all to enjoy. 
Also to inspire you to create  home decor items with your scrapbooking supplies.
To look outside the box!
Like taking this 7gypsies tri-fold journal card to create a little mini.
Here is a little look at front pages of the mini...
back side of little mini...
I started with a tri-fold journal card, gessoed lightly over the card-sprayed with homemade mist with brushed cordrury reinker and water.
Used walnut stain distress ink to ink the edges of the card, papers and embellishments.
Papers are 7gypsies Epicuream 6x6 paper pad cut down to 2.5x3.5 torn the edges and inked.
Die cut stars out of e-fluted kraft cardstock sheet, tied twine and button (also glimmer mist the stars).
Used a chalk marker to write Happy 4th of July on the chalkboard paper.
Fuzzy cut out images from the paper line for embellishments.


4th of July Tri-Fold mini home decor
video

Happy 4th everyone!
Peggy Lee

Supplies
Tattered Angels-Simply Sheer Imperial Blue and Chilli Pepper Red
Canvas Corp-Mixed Media Glue, E-Flute Kraft
7gypsies-Epicuream 6x6 paper pad, Naked Scalloped tag, Naked Tri-fold journal card
Ranger-Distress ink Walnut ink, Brushed Cordrury
Sizzix-Star primitive die
CTMH-Chalk Marker
Gesso
Twine and buttons

Monday, May 20, 2013

Tips with Glimmer Mist


"Sisters Layout"
I wanted to share with you all a layout I created awhile back for challenge you can see more about this here on my blog.
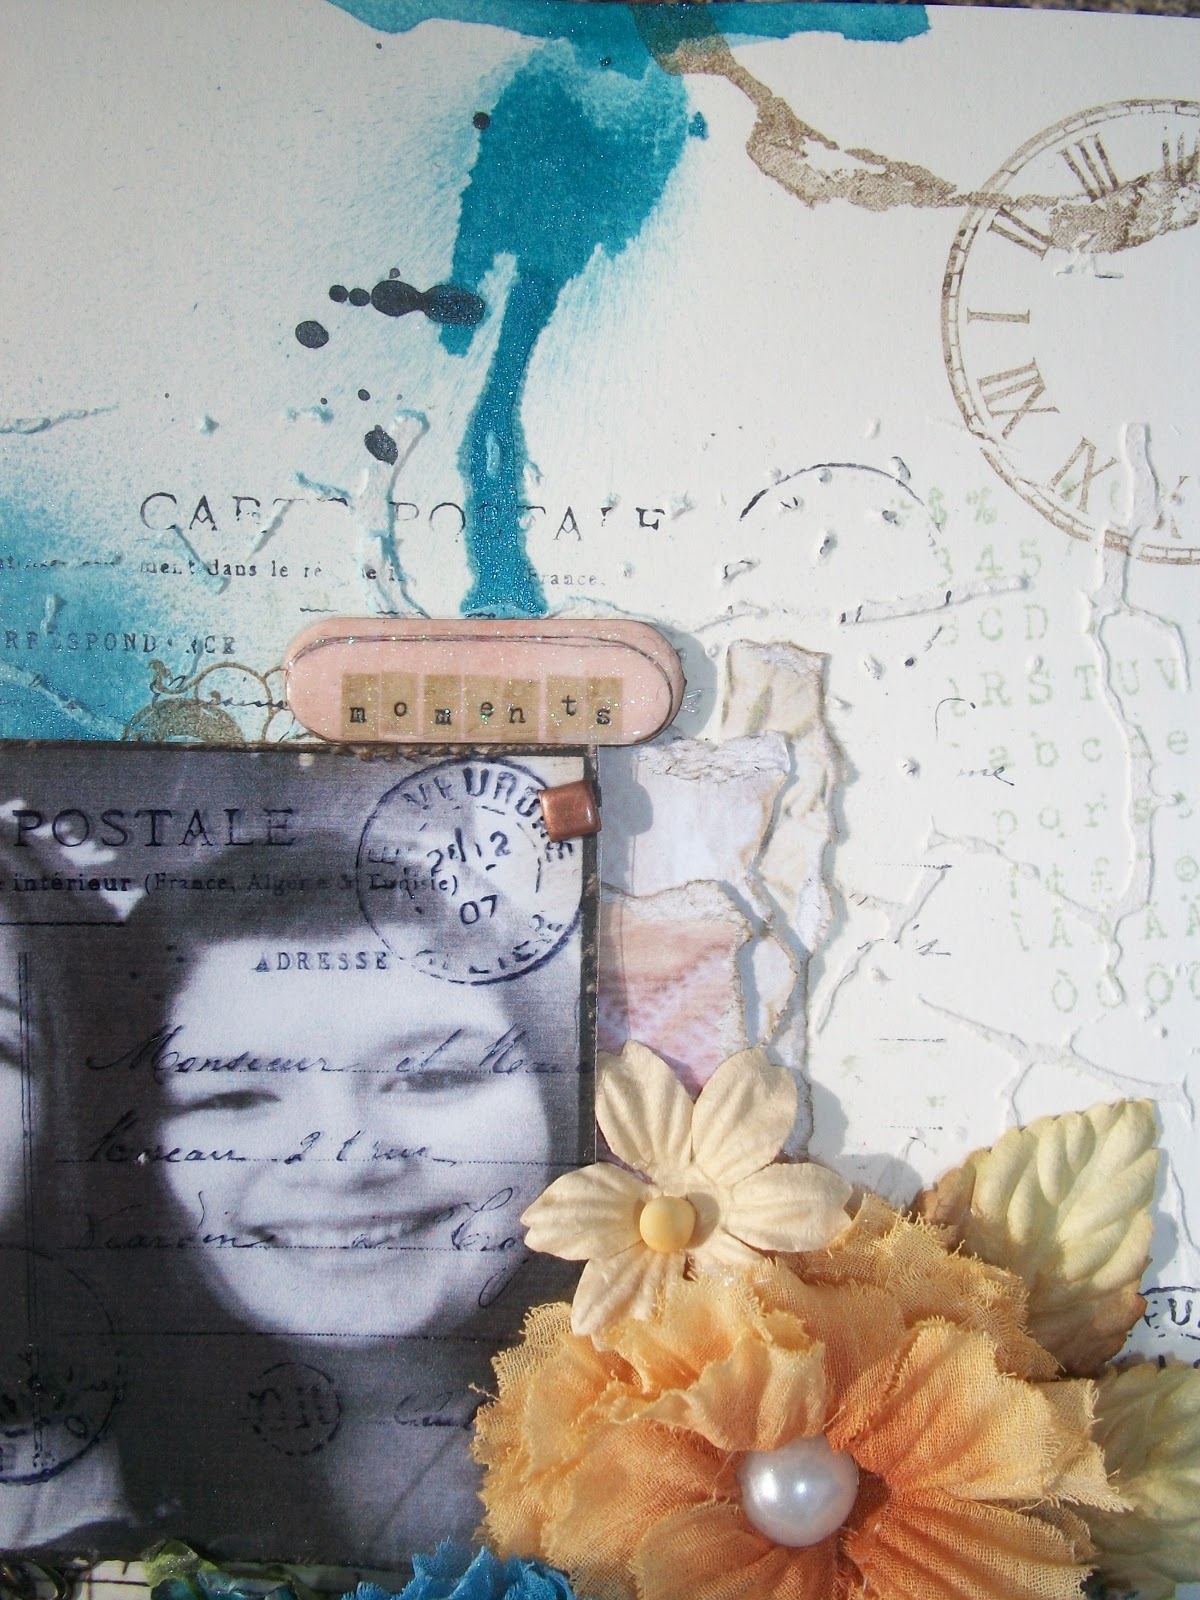
Today I wanted to focus on background texture I created using Tattered Angels glimmer mist, everyone needs some glimmer mist products they make your projects pop and come alive.
After I created the stucco and mask with a little stamping then came the coloring with glimmer mist!!
Tip #1
"Drippage"
 Spray your glimmer mist close to your project and lift up your project to allow the glimmer is run in different direction heat set to keep the drips where you want them to flow.
Tip #2
"Splats"
Taking your glimmer mist and unscrewing the nozzle and splatting the nozzle over your project creates great little splats of color.
Here are my two beautiful daughters "sisters" to heart, it's been a bittersweet year for them, since my oldest daughter on the left has gone to college leaving her sister, friend and home. It's been hard for her sister on the right, always having her sis at home to chat with, fight with, sing with has been heartache without her sis around, but  they were united this weekend has college year came to a close.
Tip #3
Texture chipboard
Die cut image with chipboard, add your favorite medium (I used VersaMark and Utee to create the tarnish look-roughed it up by using sandpaper to scrap some groves into the chipboard).
Spraying alot of glimmer mist over the chipboard pieces let it set up for a bit, heat set which creates a great worn look.
Love the way the mist create such different texture depending on what they are sprayed on..like the chipboard gears vs. paper...awesome!!
I encourage you to dig out your glimmer mist and play!
Thanks, Peggy Lee

supplies:
Tattered Angels: glimmer mist-riptide, graphite, and sunflower
other supplies list you can see here.

Monday, January 28, 2013

Creative Weekend: Valentine Class

Look what I did this weekend, took some down time to take my friends Valentine Class at our local scrapbook store. Lynne is so fun and creative gal, she loves to teach others about color and distressing. Well you all know how I love to distress my artwork and love the little bits of embellishing a piece...this class was so fun and a great way to spend a weekend afternoon. Just taking a class no teaching just learning from others.
Valentine Class by Lynne Forsythe
we worked with these amazing products, Lynne taught us how to color with
Viva Colour, Inka Gold,
Authentique-Lovely Collection
Petaloo flowers.
We had so much fun distressing, coloring and ripping papers...
we also learned how to make our leaves from a flower
This one is my favorite!!!
Speaking of classes you must go over and check out Marion Smith website for her up and coming Online Workshops. A great way to be inspired and learn top notch techniques from Marion herself wicked cool and  I can't wait to take a few...

enjoy learning, Peggy Lee

Monday, January 14, 2013

Digital Play layout

I've been playing along with Marion on her 31 Day Challenge for January, I decided to have some creative play with some left over digial prints of Marion Smiths printables which you can purchase on her website at http://www.marionsmithdesigns.com/
 Here is a page out of my 31 Day Artsy Journal, using white card stock base, stamped the background with a script stamp and butterflies stamp. Inked my edges with Distress inks (brushed corudory, vintage photo) and Distress Stain (walnut stain). Added some doilies under the pocket digital, under the photo is layers of odds and ends of digital printouts.  (Don't throw away your leftover pieces from your extra digital prints I love to use them in my layouts, on my cards and tags).
 Added some Prima flowers and leaves along with bling, stamp a title LOVE! Marion's digital label is so cute with the pink background soft romantic feel... I Created a over sized tag with old scrabble book paper, inked the edges and added some digital embellishments. Stamped a LOVE banner, tucked in another inked doily and on the flip side can be used for all your journaling.
Dig out those extra digital printable and give it try in your scrapbook layouts, cards, tags and altered art. It's all about the layers....
Happy creating,
Peggy Lee

P.S.: keep an look out on facebook, Marion's blog for updates, photos for Marion and Tonya are both at CHA Winter 2013.

enjoy

Monday, December 31, 2012

2012 Artwork Review

With 2012 coming to a close tonight I thought it would be a great idea to share my 2012 artwork in review, it's been a great creative year.
Wishing all of you a Happy New Year in 2013!!

Wow what a wonderful year 2012 has been even with life's ups and downs I have been through this past year. I am looking forward to a New Year, to a  new start, more creative artwork, learning more, exploring more, and to be brave...
My New Years resolution is simple: create art, learn something new, get organized and of course exercise more and eat healthier.
So what is your New Years Resolution going to be?

Happy New Year!!! Can't wait to see what you all create in 2013!
hugs, Peggy Lee

Related Posts Plugin for WordPress, Blogger...
 
Pin It button on image hover