Showing posts with label Masks. Show all posts

Monday, January 6, 2014

Flying High Altered Book Page

Happy New Year everyone!!
This year I have decided to do more creative play.
Since I created this altered book last year for Marion's design team blog...so it's time to fill it up.
This altered page is called "flying high"!!
I used Marion Smith Designs stamp sets
 called "Flying High and Curious.
These balloon stamp images I had laying around my work table...
so why not use them up...on a page.

Enjoy the eye candy of inspiration!!


Thanks for stopping by,
Happy Year of creating and exploring your art supplies.
hugs,
Peggy Lee

Supplies:
Marion Smith Designs-Stamps Flying High and Curious
Ranger-Archival ink in jet black, Perfect Pearls Mists in sunflower sparkle and biscotti
Distress ink in brushed corduroy
Tim Holtz-Dot Fade stencil
Tattered Angels-glimmer mist in coffee shop, graphite, riptide, english ivy
simply sheer mist in chilli pepper red
Plaster/Gesso
StampersAnonymous-stamp Tim Holtz Mixed Media 
Faber-Castell-Gelatos


Monday, September 2, 2013

"Time To Smell The Roses" Tag

I was sitting at my craft table and looking at my creative mess...and realized how many gears I had cut up and didn't used on my Altered Book project that I created last week.
Oversized tag came to mind!
I decided to cut 2 oversize chipboard tags out and glued them together.
Glued down tissue paper (wrinkled) with gel med.
Sprayed with Raven Glimmer Mist.
Using some stucco/gesso mixture and a brick mask from CraftersWorkshop.
Started laying down texture here and there on the tag.
also ran the texture along the sides of the tag.
white washed over the layers once dried.
Tore up some cheese cloth...
glued down some of my gear scraps...
Looking around my crafty table I started to find
little bits & pieces...
the roses where pink but just by spraying some
raven glimmer mist-love the black color with glimmer.
tucked in some chicken wire and pearls.
Creating this oversized tag reminded me...
it's a time to relax and smell the beauty around me.
"time to
smell
the roses"
Thanks for stopping in today,
Peggy Lee

supplies:
chipboard
gear die cuts-leftovers
cheeseclothe
chicken wire/pearls
roses, tiny roses
say it in crystals gems
stucco/gesso
glimmer mist
perfect pearl mists


Monday, May 20, 2013

Tips with Glimmer Mist


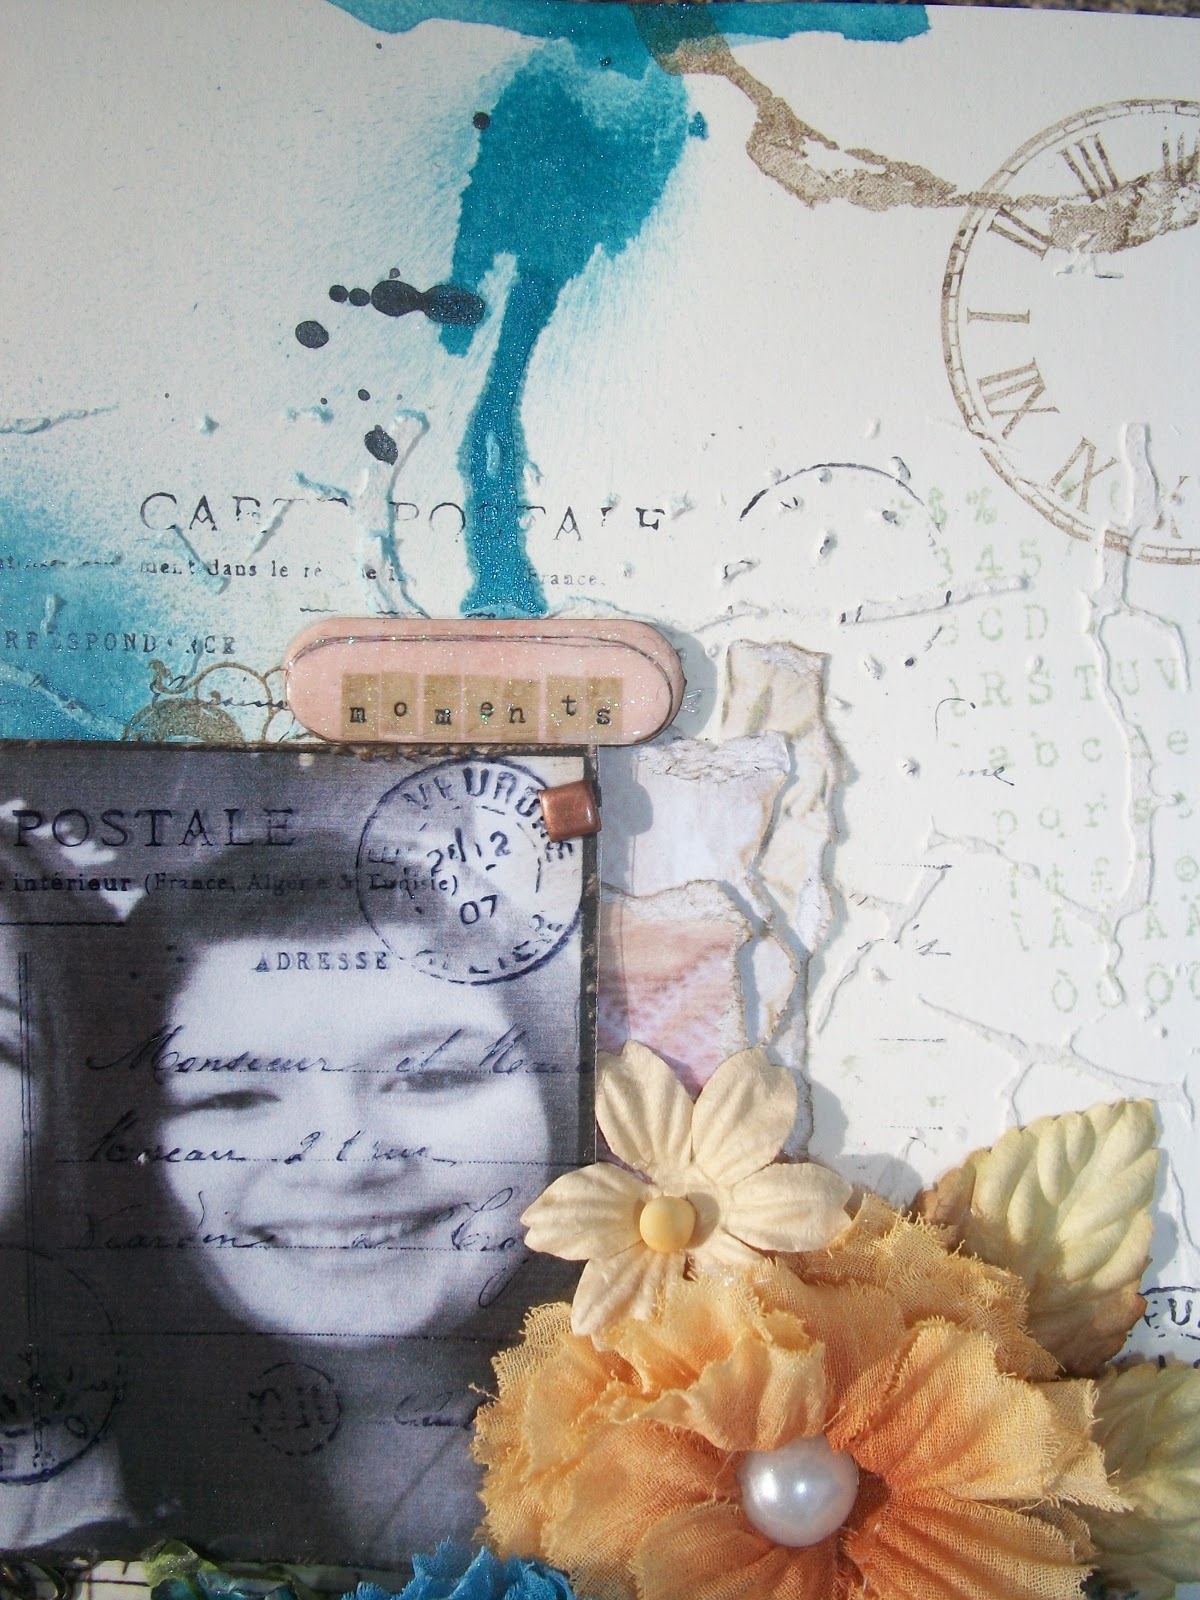
"Sisters Layout"
I wanted to share with you all a layout I created awhile back for challenge you can see more about this here on my blog.
Today I wanted to focus on background texture I created using Tattered Angels glimmer mist, everyone needs some glimmer mist products they make your projects pop and come alive.
After I created the stucco and mask with a little stamping then came the coloring with glimmer mist!!
Tip #1
"Drippage"
 Spray your glimmer mist close to your project and lift up your project to allow the glimmer is run in different direction heat set to keep the drips where you want them to flow.
Tip #2
"Splats"
Taking your glimmer mist and unscrewing the nozzle and splatting the nozzle over your project creates great little splats of color.
Here are my two beautiful daughters "sisters" to heart, it's been a bittersweet year for them, since my oldest daughter on the left has gone to college leaving her sister, friend and home. It's been hard for her sister on the right, always having her sis at home to chat with, fight with, sing with has been heartache without her sis around, but  they were united this weekend has college year came to a close.
Tip #3
Texture chipboard
Die cut image with chipboard, add your favorite medium (I used VersaMark and Utee to create the tarnish look-roughed it up by using sandpaper to scrap some groves into the chipboard).
Spraying alot of glimmer mist over the chipboard pieces let it set up for a bit, heat set which creates a great worn look.
Love the way the mist create such different texture depending on what they are sprayed on..like the chipboard gears vs. paper...awesome!!
I encourage you to dig out your glimmer mist and play!
Thanks, Peggy Lee

supplies:
Tattered Angels: glimmer mist-riptide, graphite, and sunflower
other supplies list you can see here.

Thursday, February 16, 2012

My Valentine

So I'm sitting in my craft room the other day finishing a project and my Son walks in, puts his arms around me and says "Mommy will you be my Valentine?" without blinking or even the slightest hesitation I said "YES - OF COURSE - FOREVER!" About 10 mins later, I get a notification of a note on my Facebook wall - He had posted the sweetest note about me being the only true love of his life! HELLO - I don't need to tell any of you how I felt, but after I quit crying all over my keyboard - I was floating on air!

The next day - Valentine's Day - he walks in with this paper heart that he had written in Spanish class. Before the details of the past few days escaped me - I wanted to create a layout.

Bazzil Cardstock: maroon; My Mind's Eye: patterned paper; Glimmer Mist: Poppy Seed & Antique Brass; Marion Smith Designs: Dital Paper - Jan day 29 & Envelope - February Day 7; Webster's Pages: Pink Bloomers; Maya Road: Love & Heart chipboard pieces; Karls001: Butterfly Kisses Flowers (Crystal), wheat flowers in pink; Prima: Mask - Floral Frenzy, Cabbage Rosebuds, and Miniature Roses; Crocheted Lace, Pearls.


The background paper says I Love You all over it and is vintage My Mind's Eye. I decided to dress it up a bit with my Glimmer sprays and the Floral Frenzy screen from Prima.

A closer look shows that I used Marion's digital downloads on my layout. In Spot 1, I used the January Day 29 download to mat the image, and in Spot 2, I used February's Day 7 envelope to house the note off my Facebook Wall.


Here is a closer look at the collage of embellies flanking the bottom of the picture. I love how the crystal flowers fill the space, but still allow the pattern of the paper and sprays to filter through.


I know one thing - this boy sure has my heart in the palm of his hand. No matter how old you get - your Momma will always be your Valentine!

I don't know about you - but I think you can never have too many paper hearts!

Thanks for stopping in today,
Tonya Gibbs
http://www.psychomoms.com

Thursday, October 20, 2011

Birthday Magic

First birthdays are so magical with yummy cake all over such a delicious face. Who could resist these photo ops? Well, not I.

Prima Madeline Paper Collection - Rosalee, Say It in Pearls & Lace Brown, Lindy's Stamp Gang Tibetan Poppy Blue & Creme Brule Cream, and Gossamer Gold, Flowers (Received in a RAK not sure where they are from), Tissue Paper, paper doily.


This is a photo I took of my niece Addy at her first birthday party. I wanted to select a paper that would not take away from the photo, so I picked the B side of the Prima Madeline Rosalee paper. I loved how the subtle blues on the borders complimented the blue in the frosting on her face.

I used a paper doily as a mask and sprayed my Lindy's Stamp Gang gently onto the paper. Then I moved the doily to the upper left hand corner to reveal the unsprayed area.

My friend, Sandra, had sent me a RAK (Random Act of Kindness) and it had all the beautiful flowers used in this layout wrapped in Turquoise tissue paper. The paper was sprayed with a Gossamer Gold, Lindy's stamp Gang, I cut it into strips, and made a bow.


Thanks for stopping in today,
Tonya Gibbs
http://www.psychomoms.com

Friday, September 9, 2011

Product Review: GooseBumps - Tonya Gibbs


I'm excited to announce that Marion & Angee have asked me to be a permanent blogger for Artsy Addicts. Thank you so much for this opportunity.

Today I would like to introduce you to a new product from Tsukineko called GooseBumps. It is a clear texture gel medium that acts as a resist while also providing an “orange peel” like texture to the surface of your project. I first saw Kristina from YourMemoriesHere.com (one of our fellow members) use it in a YouTube video. She used it with stamps for a clear emboss look, and as a resist on tags.

For my project sample I used it as a resist with a Prima mask to create a great texture on a mini notebook I’m sending to a friend.

I started with a mini Kraft notebook that I got from a $1 bin at a local craft store.


I used Honey Dew Glimmer mist and Peeled paint distress inks to color the background of my album cover.


Once the base coat color has been applied to the entire surface, cover your work surface so that the over spray does not ruin your table top.


I positioned a Prima mask over the notebook cover then sprayed the GooseBumps over the mask making sure I covered the entire notebook. Immediately remove your mask and wash it with warm soapy water to remove the Goosebumps residue.

Allow the Goosebumps to dry (usually 5 – 10 mins on its own), or you can speed up the process with a heat tool.

This is what your project should look like. You can really see the resist on the project, and this would be great left as is. But adding a little more color will really help you see the texture.

I chose a heavy contrasting color – Aged Mahogany distress ink to resurface my notebook cover. I applied the color using an ink applicator tool.


Use a baby wipe to remove the excess color from the top of the Goosebumps.


You can really see the two toned effect now, and the second color enhances the texture of Goosebumps.


Then I decorated the cover of the book and it is ready to send off to a friend.

I could see me using this product on frames, cards, scrapbook pages, tags, flowers, and so much more. The possibilities are endless.
Related Posts Plugin for WordPress, Blogger...
 
Pin It button on image hover