Showing posts with label Mixed Meida. Show all posts

Monday, January 13, 2014

Recycled Heart Card "love"

Recycled Heart Card
Today I am sharing with you all, my recycled heart card...
With Valentine's right around the corner I am trying to get a head start on the Holiday!

I first took a 61/2 x 5 size card base.
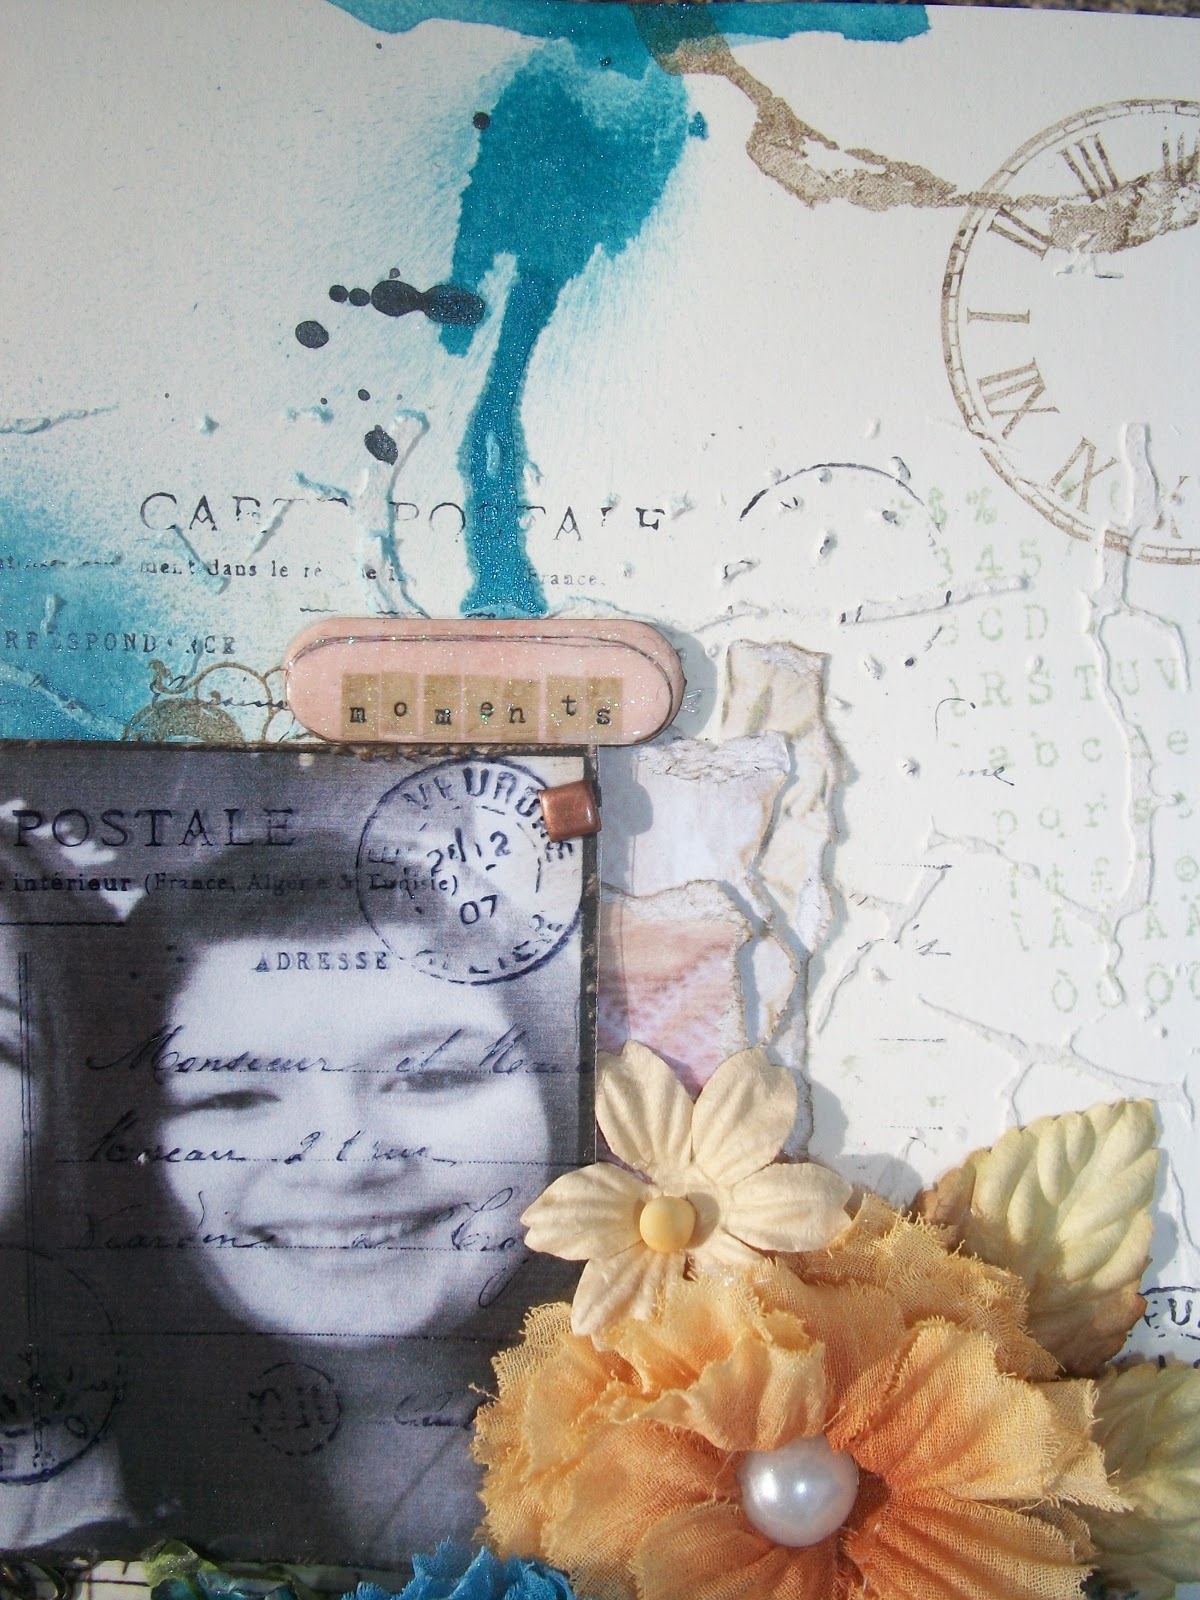
Using a Heidi Swapp Heart Stencil and plaster created the heart 
background textured.
Using my Tattered Angels mists...I used them like water color effect.
Along with Tim Holtz stencil Dot Fade and gesso for even more texture.
I cut a heart out of old cardboard, ripped the top layer off.
Painted some gesso over the heart.
Did the same water coloring on the Petaloo flower...with glimmer mist.
Added a little embellishment cut out 
of Mad Tea Party paper collections by Marion Smith.
close up of background
There you have it
recycled heart card...."love"

Thanks for stopping by today,
hugs
Peggy Lee
http://pegbaker.blogspot.com

Supplies:
Marion Smith Designs-Mad Tea Party Paper Collection
Tattered Angels-Glimmer mists in Graphite, Tutti Fruitti, Patina 
and Simply Sheer in Chilli Pepper Red
Ranger-Distress ink in Brushed Corduroy
Perfect Pearls Mists in Blue Patina
Tim Holtz Stencil Dot Fade
Petaloo-Printed Darjeeling Wild Blossoms in white
Heidi Swapp-Heart 12 x 12 Stencil
Gesso
Plaster
Cheese Clothe

Monday, January 6, 2014

Flying High Altered Book Page

Happy New Year everyone!!
This year I have decided to do more creative play.
Since I created this altered book last year for Marion's design team blog...so it's time to fill it up.
This altered page is called "flying high"!!
I used Marion Smith Designs stamp sets
 called "Flying High and Curious.
These balloon stamp images I had laying around my work table...
so why not use them up...on a page.

Enjoy the eye candy of inspiration!!


Thanks for stopping by,
Happy Year of creating and exploring your art supplies.
hugs,
Peggy Lee

Supplies:
Marion Smith Designs-Stamps Flying High and Curious
Ranger-Archival ink in jet black, Perfect Pearls Mists in sunflower sparkle and biscotti
Distress ink in brushed corduroy
Tim Holtz-Dot Fade stencil
Tattered Angels-glimmer mist in coffee shop, graphite, riptide, english ivy
simply sheer mist in chilli pepper red
Plaster/Gesso
StampersAnonymous-stamp Tim Holtz Mixed Media 
Faber-Castell-Gelatos


Monday, December 30, 2013

Mixed Media Play: "Soar With Wild Flowers" page!!


A little mixed media play after this crazy and busy Holiday Season!
I grabbed my altered book and supplies!
And went to town...it's really fun to have no directions and just play.
"Soar With Wild Flowers"
altered book page
Glued my pages together to give some strengthen.
Covered with gesso to prime the book pages.
Next texture layer.
Plaster and gesso mixture with your favorite masks and stencils.
anything to give texture!
Just so Pretty!
Colored the background with different color mists and sprays,
inks and paints.
Don't forget the stamping!!!
I also used Marion Smith Designs new stamps.
Curious, Typo Stamps
I stamped them on watercolor paper, painted with mists along with stamping
cut out and glued down....
Texture is so fabulous!!!

Thanks for stopping by,
and I hope and prayer
you all have a Wonderful and Happy New Year!!!
hugs,
Peggy Lee

Supplies:
Tattered Angels: Glimmer mists in Titti Fruitti, Coffee Shop, Olive Vine, Juneberry, Graphite and Riptide
Simply Sheer in Army Green
Ranger: Archival ink-Jet Black ink, Perfect Pearls Mists in Heirloom Gold, Sunflower Sparkle, Blue Patina
Dabber paint in Sunshine Yellow, Dot Fade Stencil
Prima: Script Stamp, Crackle mask
Beacon 3-n-1
Gesso and Plaster


Monday, November 11, 2013

Let's Remember-Tag Embellishment

                           Let's remember those who have served and who are serving us today!!! 
                                                                Happy Veteran's Day!!!
Today is our small town we love to show our love
with a ceremony....
the laying of the wreaths...

Here is a tag that I created to go onto a 
scrapbook layout
that I will share after I get these
wonderful remembering photos 
developed.
"Tag embellishment"
glued the Nirvana paper onto a shipping tag...
laid down some stucco
with a brick mask
white washed over the whole tag
sprayed some mists 
over the whole piece
using a baby wipe 
clean off to give a washed look.
before the splatters of mists...
The Remember This:
11-11-11
is
11th hour of the 11th day of the 11th Month
remembering those who have served 
and who are serving....


Thanks for stopping by,
I will be sharing soon the complete layout...
Peggy Lee

Let's remember!

Stucco/Gesso
Heidi Swapp: color shine in teal, tinsel
Tattered Angels: glimmer mist in raven
Ranger: Distress ink in black soot


Monday, September 2, 2013

"Time To Smell The Roses" Tag

I was sitting at my craft table and looking at my creative mess...and realized how many gears I had cut up and didn't used on my Altered Book project that I created last week.
Oversized tag came to mind!
I decided to cut 2 oversize chipboard tags out and glued them together.
Glued down tissue paper (wrinkled) with gel med.
Sprayed with Raven Glimmer Mist.
Using some stucco/gesso mixture and a brick mask from CraftersWorkshop.
Started laying down texture here and there on the tag.
also ran the texture along the sides of the tag.
white washed over the layers once dried.
Tore up some cheese cloth...
glued down some of my gear scraps...
Looking around my crafty table I started to find
little bits & pieces...
the roses where pink but just by spraying some
raven glimmer mist-love the black color with glimmer.
tucked in some chicken wire and pearls.
Creating this oversized tag reminded me...
it's a time to relax and smell the beauty around me.
"time to
smell
the roses"
Thanks for stopping in today,
Peggy Lee

supplies:
chipboard
gear die cuts-leftovers
cheeseclothe
chicken wire/pearls
roses, tiny roses
say it in crystals gems
stucco/gesso
glimmer mist
perfect pearl mists


Monday, May 20, 2013

Tips with Glimmer Mist


"Sisters Layout"
I wanted to share with you all a layout I created awhile back for challenge you can see more about this here on my blog.
Today I wanted to focus on background texture I created using Tattered Angels glimmer mist, everyone needs some glimmer mist products they make your projects pop and come alive.
After I created the stucco and mask with a little stamping then came the coloring with glimmer mist!!
Tip #1
"Drippage"
 Spray your glimmer mist close to your project and lift up your project to allow the glimmer is run in different direction heat set to keep the drips where you want them to flow.
Tip #2
"Splats"
Taking your glimmer mist and unscrewing the nozzle and splatting the nozzle over your project creates great little splats of color.
Here are my two beautiful daughters "sisters" to heart, it's been a bittersweet year for them, since my oldest daughter on the left has gone to college leaving her sister, friend and home. It's been hard for her sister on the right, always having her sis at home to chat with, fight with, sing with has been heartache without her sis around, but  they were united this weekend has college year came to a close.
Tip #3
Texture chipboard
Die cut image with chipboard, add your favorite medium (I used VersaMark and Utee to create the tarnish look-roughed it up by using sandpaper to scrap some groves into the chipboard).
Spraying alot of glimmer mist over the chipboard pieces let it set up for a bit, heat set which creates a great worn look.
Love the way the mist create such different texture depending on what they are sprayed on..like the chipboard gears vs. paper...awesome!!
I encourage you to dig out your glimmer mist and play!
Thanks, Peggy Lee

supplies:
Tattered Angels: glimmer mist-riptide, graphite, and sunflower
other supplies list you can see here.

Monday, April 29, 2013

"Welcome Home" Chalkboard Sign

With spring finally here on the East Coast, I decided I needed a little "welcome home" sign to welcome guest into our home. I started with a wooden sign that I primed with gesso added some crackle medium. When it was dry I painted the wooden sign with some acrylic paint in yellow ochre. Dragged Black Soot Distressed ink over the edges, I used a wet paint brush to smooth out the ink along with using different glimmer mist and perfect pearls powders to give a weathered look to the sign. Using stucco and gesso with a Prima mask adding a crackle all over the sign and chalkboard paper.
Canvas Corp makes different color clothespins which are amazing, I grabbed the natural clothespins and thought my graphite and slate blue glimmer mist would create a pretty weathered looking clothespins. I couldn't resist playing with color.
 Canvas Corp makes different colors of burlap sheets which are fabulous!!!! I took the slate grey one for frame the chalkboard paper (which is stinking amazing) hot glued them both down to the sign added some stucco paste to the chalkboard paper here and there to give some depth to the sign. Glued the two clothespins down to the sign...
"welcome" banner is so adorable created with canvas paper sheet that I ripped a piece of cut into squares stamped the word "welcome" using black Stazon. I cut little bigger squares from the Kraft E-Flute sheet stitched them all together on my sewing machine then added to the clothespins. I just love the raw material look against the chalkboard paper.
Added some flowers and glimmer misted seam binding and fibers from the slate grey burlap...the word "home" is written in actual chalk!!!
I just love this little sign and it's ready to greet guest into our home.
Hope you all enjoy, hugs Peggy Lee


supplies:
Canvas Corp: chalkboard paper, colored burlap sheets, canvas sheets
kraft e-flute sheet, natural clothespins
Tattered Angels Glimmer Mist: tattered leather, graphite, slate, patina
turqouise, aquamarine
Ranger: Perfect Pearl Mist Patina, Perfect Pearls Powders: bronze, mint and cappuccino
Distressed Ink: Black Soot
BoBunny: Blossom Natural Earth Daisy flowers
Prima: Stencil crackle mask
Martha Stewart Stucco
Gesso
Folkart: crackle medium
Acrylic paint: yellow ochre
Seam binding

Monday, April 8, 2013

Secret Keepsake Box

I thought I would share with you all one of my little creations I did just recently for the Graphic 45 DT Call they had out. Sadly I didn't make the second round but it was so fun to try out for this team. I created this little secret keepsake box, I painted it black and then distressed all edges of the papers glued them down leaving a 1/4 edge of the painted black box showing.
I used the Olde Curiosity Shoppe paper collection from G45. I fuzzy cut most of the images right from the paper collection, along with some chipboard piece I had left in my stash.
I used the "tattered floral die" by Tim Holtz to create my flowers from the paper collection. Added some Prima bling, purple feather from the department store. The pic below I glued images under the glass top of the box, it's really cool seeing the pig with wings, bottles, butterflies and an eye ball staring up at you!!
love the eye glasses...
for the finishing touches I covered the inside of the box as well...


Thanks for stopping by today,
Peggy Lee

Supplies used all Graphic 45, Prima, Tim Holtz, wooden box and little creative thinking!
Related Posts Plugin for WordPress, Blogger...
 
Pin It button on image hover
