Creative Confidence.
How I built my Creative Confidence?
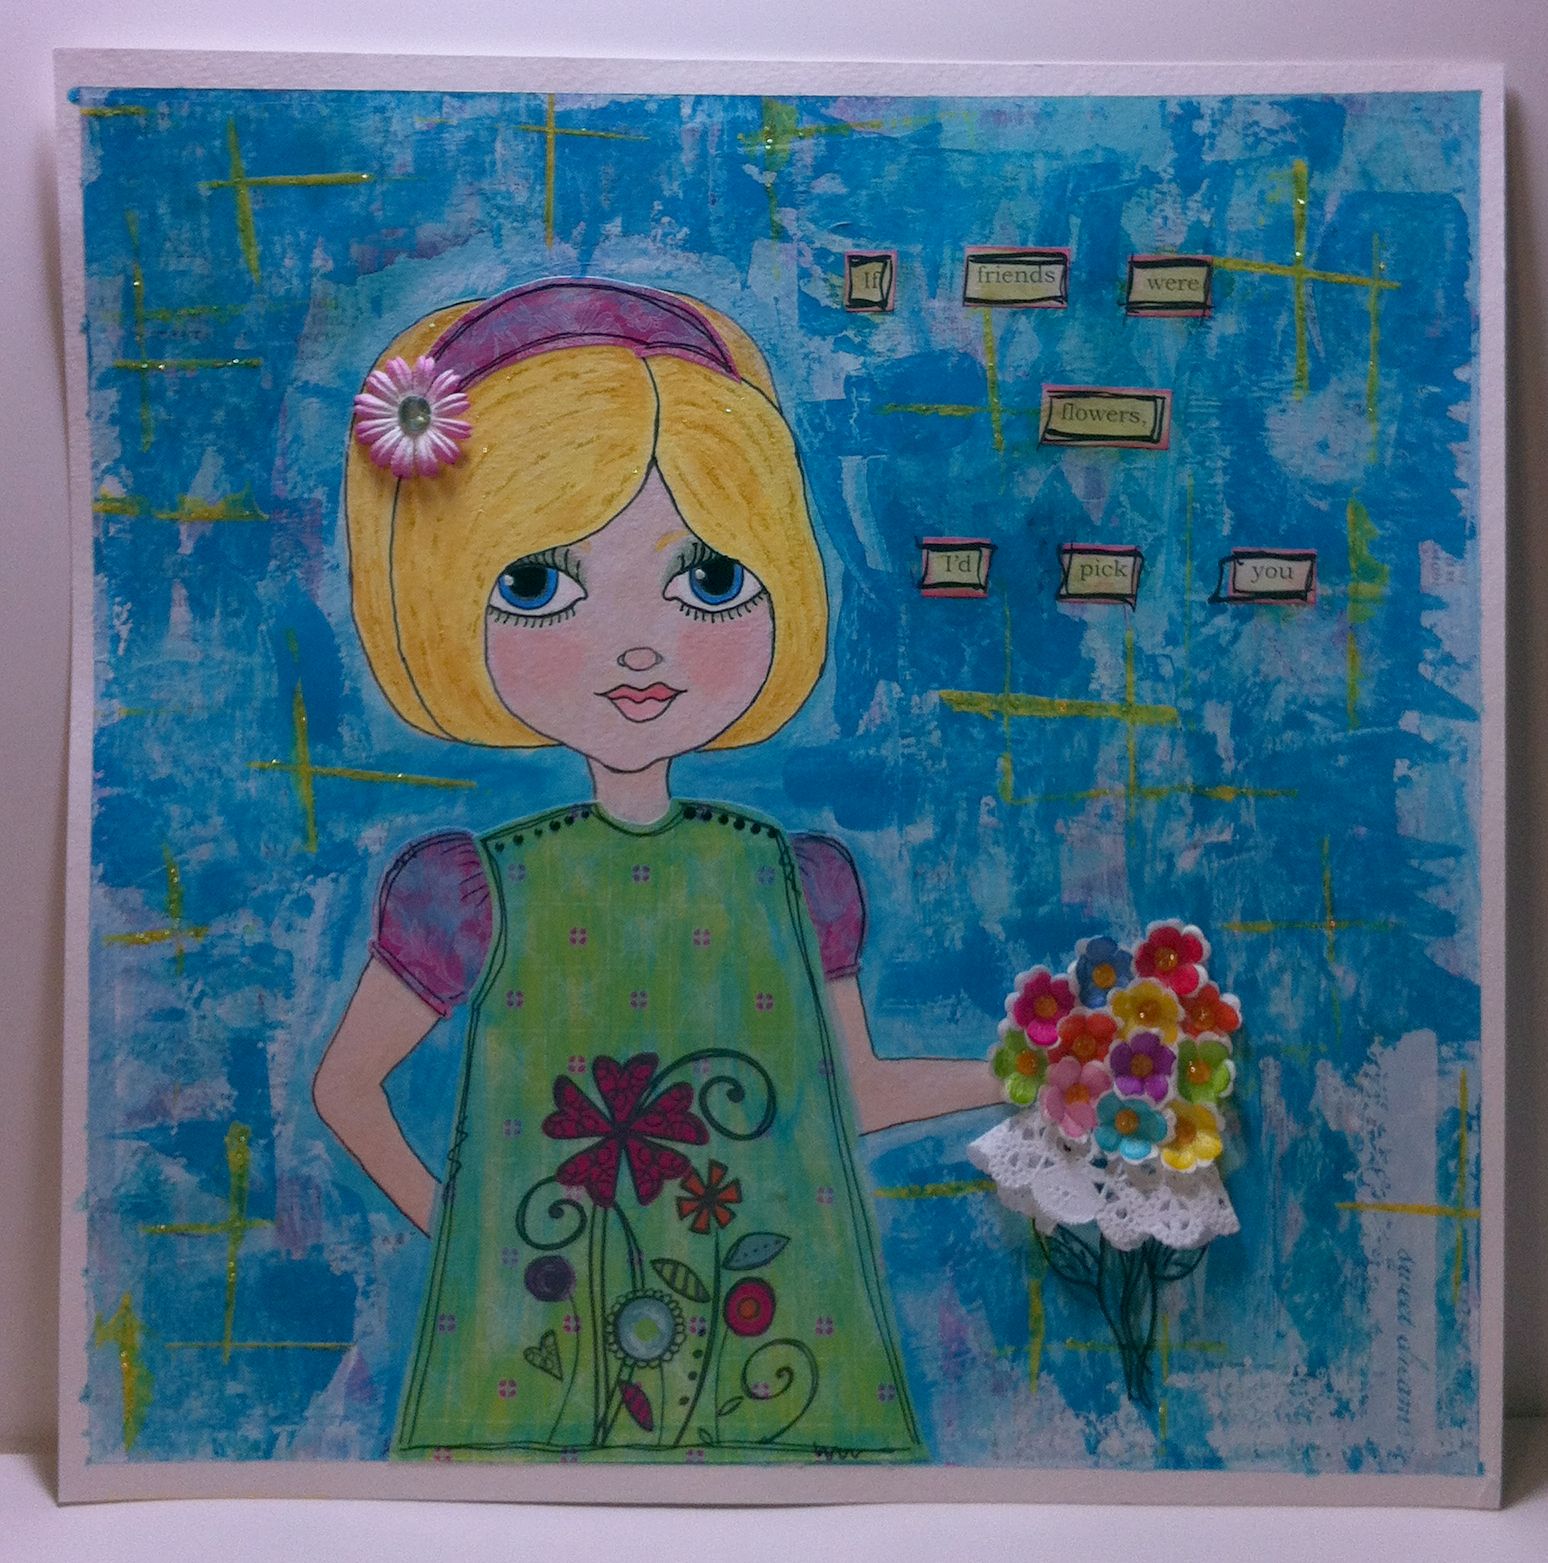
It's something that I've only recently been interested in. I can't say that I've always been confident in my creative abilities. I'm a self-proclaimed newbie in the "World of Crafting." And by that world I mean blogging and receiving criticism for my "art."
I even included art in quotations above because it took me a long time to even think of what I did (scrapbooking and cardmaking) as art. I studied art in high school and college and it didn't ever look like a scrapbook, so how could I call what I did art.
1. Learn and seek out as much information as possible.
I've come to realize that art is subjective and left up to the interpretation of the artist. Singers, actors, and dancers are all called artists. You can't see what they've done hung up in an art gallery. You can see a reproduction in the form of a painting or a photograph.
When I first started crafting I was a youtube-a-holic. Still am. I watch more youtube videos than I watch television. I'm a frequent blog hopper and my google reader often has over 100 item each day because I love seeing what's out there and it's really inspirational to see what others are working.
Knowing that there are other people out there creating art everyday lets me know that I can do it too. I can create art everyday. Good or Bad.
2. Connect with and learn from other people in the field.
One of my favorite artists Ali Edwards has a great newsletter where she addresses these types of concerns. She's very honest about her creative process and the struggles she sometimes faces. It is through following her and reading her words that I've learned to be
confident in what I create.
And I don't mean confident enough to show people but confident enough to show others the mistakes as well as the successes. Confident enough to discuss what I do with others with out the premise "Well, it's all handmade so it won't be perfection."
I don't, can't, and will never be able to offer perfection. What I can offer is time, attention to detail, and an investment in making my art from the heart.
Right now I'm learning and growing and maturing into a better _____________ (fill in the blank with as many adjectives as you can think of). Card maker, Crafter, Artist, Seamstress, Painter, Photographer....
I'm always striving to be better.
- Really define my style of crafting
- Take better pictures of my projects.
- Blog more often
- Share more of myself on my blog (it's very therapeutic)
- Learn to be more forgiving of myself
- Learn not to worry so much about what you can't control (My husband is teaching me this)
- And this list can go on and on.
3. Take a chance. Put yourself out there.
I started my blog as a way to join that creative community that I'd grown so accustomed to watching. I wanted to be a part of it. I was tired of being a consumer of art and wanted to be a producer of art, and I wanted a place to share that art with others. Now....that being said I've had lots of blogs since then and I currently have about 2-3 that I have now that I'm trying to concentrate into one place where I can call my online home. It's trial and error just like being creative. You won't always get it on the first try but it's the journey where you learn more and more and hone your skills as an artist or a blogger.
The one thing I have learned from having a blog and receiving solicited and unsolicited advice about my art is that I take pride in just seeing it posted on my blog. No matter if I never receive a comment, no matter if I never reach 100,000 page views. It makes me happy to know that I'm out there in the online world doing and sharing what I love.
How have you built your Creative Confidence?
Leave a comment below letting me now how you came to be creatively confident. I'd love to know.
Sweet Crafting everyone.
Angela B. Carter


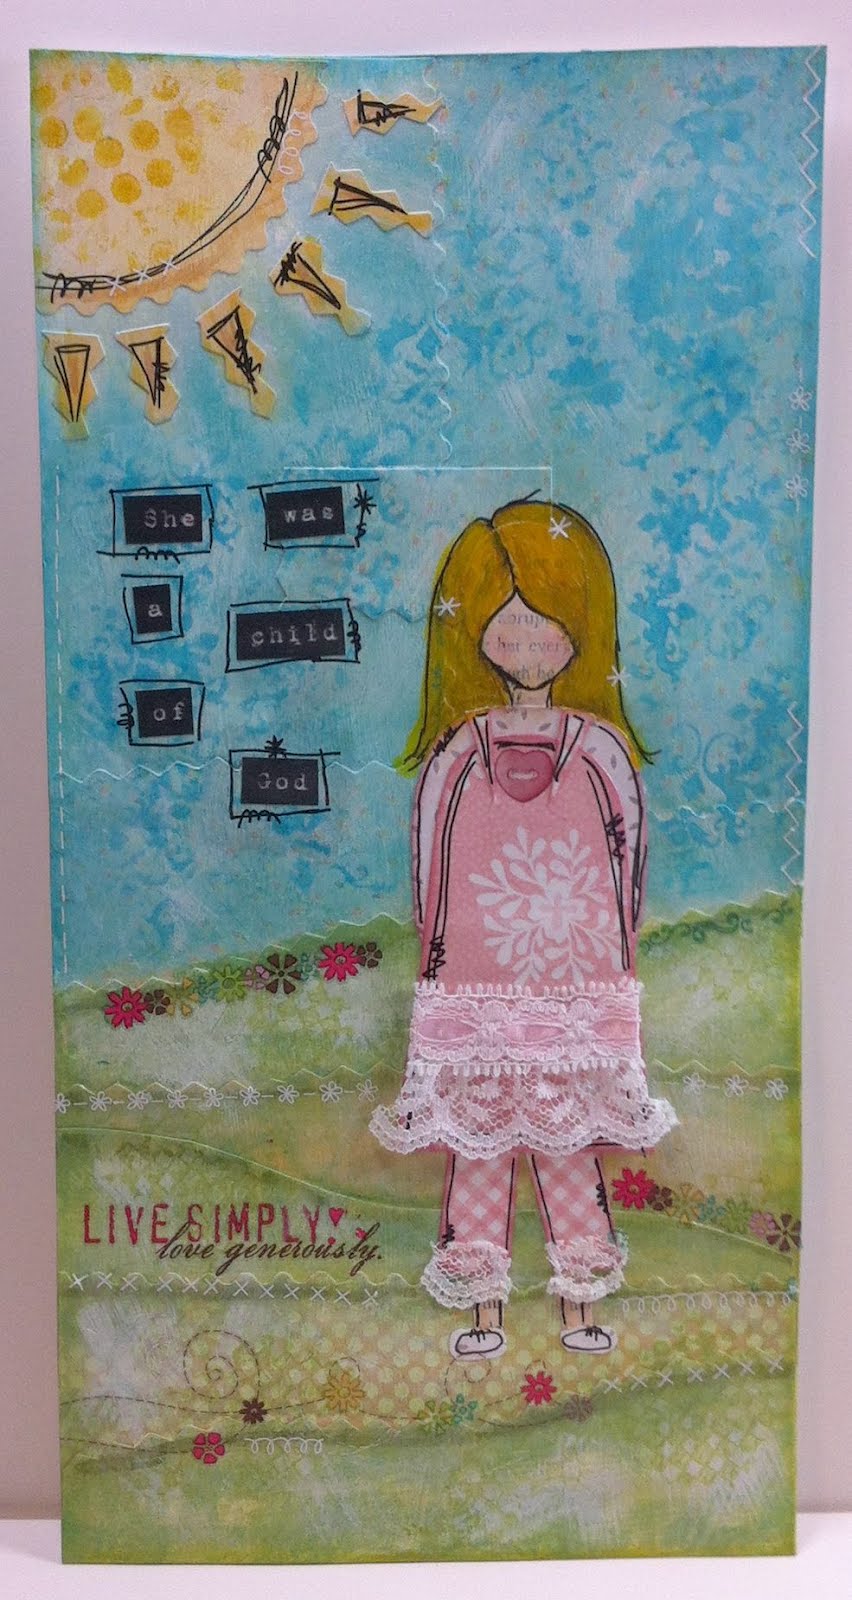
 Then comes the favorite part "embellishing" who wouldn't love it-added some vintage items I had in my stash, twine, little charms and Prima flowers. I believe that embellishments are the icing on the cake.


