Can you say - LOVE! For all you shabby chic lovers out there this system is going to be a fav. This is the Tattered Angels Naturally Aged Paint System Precious Stone - Opal. It is so pretty and soft. Sheer elegance!
Each kit consists of 4 1oz bottles of a medium from the Tattered Angel's family. I have had several people ask about larger bottles. Yes, you can buy these in the standard bottles individually if you have a larger project in mind.
Here is a close up of the marbled background.
I love how soft and delicate it turned out for the backdrop for this card.
Hi! Misty Russell here, and I am just so honored to have this chance to share a little about myself with you today! I'm a mom of two totally awesome kiddo's who constantly make me laugh (they take after their dad), and I have one of the best men on earth to call my husband. Most of the subjects on my pages are my kids or my nieces and nephews. Really, its a contest of who has the best pics at the time! lol
I found Artsy Addicts through their facebook page over 6 months ago and have been so inspired by the amazing talent there.
I started scrapping in September 2010. What started out as a work project for a convention we were attending, ended up as an obsession that I can't get enough of! I googled "scrapbook ideas" so that I could get an idea of what to do, and when I started going through online galleries my jaw dropped. I had no clue that scrapbooking could be such an art form! It was unlike anything I had ever seen before. So I was hooked. I started out just playing around and trying on different styles, but ultimately the grungy, mixed-media pages are what stole my heart.
I love the freedom that can be had with this style, because you can let go of all your perfectionism and just create...and it can be so therapeutic! Most of my pages start out on a certain path and almost every time I "ruin" something that I was attempting, but the great thing about mixed media is that you can always turn it around into something kind of cool and/or really beautiful....
Some of my favorite projects were created by making some big, ugly mistakes...but thankfully, through the process of creating they turned into something that I hadn't expected, but really loved!
Here are a few of the projects I've created over the past 3 months...
The page that I've created for today is definitely on the dramatic grungy side...
I've used lots of modeling pastes and mists for the background, and I always finish a page with some Scrap Fx chipboard! The picture is of my niece Marisa. Like most of my nieces she is always taking pics of herself, and this time she noticed that there was a little orb of light reflecting back in the camera, so she started playing around and took this creative pic. I love how it looks like she is holding it...
Thank you so much for this opportunity to share with you today! I hope that I was able to inspire you to let go of perfectionism a little, and just create for the sake of creating!
I've been working on this beautiful mini album using Marion Smith's "Vintage Telegram" digital printables that you can find here. I decided to use it for my 31 Day Journal for the month of June, I can't wait to fill this mini up with wonderful family and friend memories! I will be sharing more on my journal here on this blog and my blog and I will be creating some videos be sure to stop over. With my journal I also wanted to create some wrinkle and stain paper which I created a little tutorial you can see below as well as a little video sharing it too.
I wanted to buy new supplies to use with this digital design but decided I needed to use up some of my stash...I love using one of the journal spots as my title focal point, tucking in a clock die cut and a handmade flower with fuzzy cutting out images from the line to embellish. Delish!
You know me I had to use something vintage and old in my projects..don't you just love the center of the flower! It's a olde ear ring that I repurposed fabulous!!
peak at inside pages
tattered and torn is a girls best friend...
handmade tea stain paper
yummie
Tea stain handmade paper:
1. using copy/printer paper
2. boil water in a sauce pan with 3-4 tea bags
3. place paper in tea water bath
4. soak for desire tea stain look (15 minutes is good medium tone)
5. pull paper out of tea bath and place on wire racks to drip dry
6. crumble the paper up in your hands and allow to dry a bit longer
7. unwrap gently to avoid tearing (but I love the tears)
8. let air dry or spead up drying by using your heat tool
9. cut paper down to size for your project
10. iron the papers to help shrink paper to fit flat in your mini
It is no secret that I'm in LOVE with these new Tattered Angels Naturally Aged Paint Systems. The minute I saw them, I had to have them all! Today I would like to feature the Red Brick from the Architecture line.
When I finished my samples, I thought they would perfect for book covers. So I created this cute little notebook from pieces of scrap manila card stock. The final book size is 2 1/4 inches x 3 7/8 inches. I used Tim Holtz' grunge board hinges and a 7 Gypsies drawer pull for the handle. Perfect size to jot down quotes or little notes.
In the kits you will get a 4 - 1oz bottles of mediums from the Tattered Angel's family, and a full color step by step guide on how to complete the project. As always, if you like the look and want to do it on a larger project, you can certainly buy larger bottles of the mediums.
Here is a step by step video on how this kits works.
If you use these paint systems, please tag me in your poject and let me see what you create. They are so much fun!
We all want to wish you all a Happy Memorial Day! Let's not forget the men and women who have served and is serving us on this special day of rememberance.
Here is a card I created for Memorial Day! This card was made to fit into a regular letter size envelope. Card stock base is cut 7x6 - folded in half, script stamp image in black ink. (you could also use a music note stamp too).
The pinwheel image was stamped in pacifica and ruby ink, cut the image out and popped up to give depth of movement.
"Let's Celebrate" was stamped twice and cut the middle out of one to pop up and give depth to the seniment. Quick and easy card to share with your friends and family in rememberance of those who serve and served.
Below is a photo of the wreath laid at the Memorial Day Parade that took place this morning in my small town.
Last weekend I was in my studio and really not feeling like starting a new project. Can you say brain dead? Well, when I get like that I always clean. I just made a mini album, that I will share with you in a future post, and I had a lot of little pieces left on my desk, floor, and scrap box. I set out to make cards (as I usually do with these little pieces), but I really wasn't in a 'card' making mood. I recently made a large stack of them so I didn't need any at the moment. Well, I was hanging out with a friend and piddling around (pid·dling To spend time aimlessly; diddle.). Yes not giving much thought into what I was doing. The next thing I knew I had stapled a few scraps to a tag, stamped a few images and fussy cut them out, and first scrap embellishment was born. By the end of the day, I had made 8 of these from various scraps, stamped images, die cuts, and extra ephemera pieces.
I have a bucket on my desk that includes what I call One Hit Wonders. These are small pieces that were left overs from recent projects (not worth keeping the packaging) so I toss them in the bucket. A single flower, a stamped image that wasn't used, an inch of ribbon/lace, a button, a die cut etc... they seem like pieces that you would just toss, but clustered together, they are cute!
On YouTube a few weeks back I shared a video on making small banners that were sewed together. One of them is being used in the tag that says fun times above. Clustered together these itty bitty pieces of nothing form a cute layered embellishment to be included on your scrapbook pages, cards, or in your mini albums.
I had a variety pack of small papers from 7Gypsies laying on my desk. I clustered those around this 5x7 photograph on my desk, placed a few photo reels that I cut from a 6x6 paper pad from Echo Park, a few paper doilies die cut from an MFT doily die out of scrap paper and this layout was born. Since the photograph had so much negative space in the upper left hand corner, I decided to use one of my embellishment pieces for the journaling to hide the wall. Then I sprinkled a few sequences to mimic a flash. I love how this "Scrap" layout turned out.
Oh btw those are my beautiful children all grown up!
I would love to see your scrap embellies - please post them on the Facebook page and make sure you tag me in them.
I wanted to share with you all a layout I created awhile back for challenge you can see more about this here on my blog.
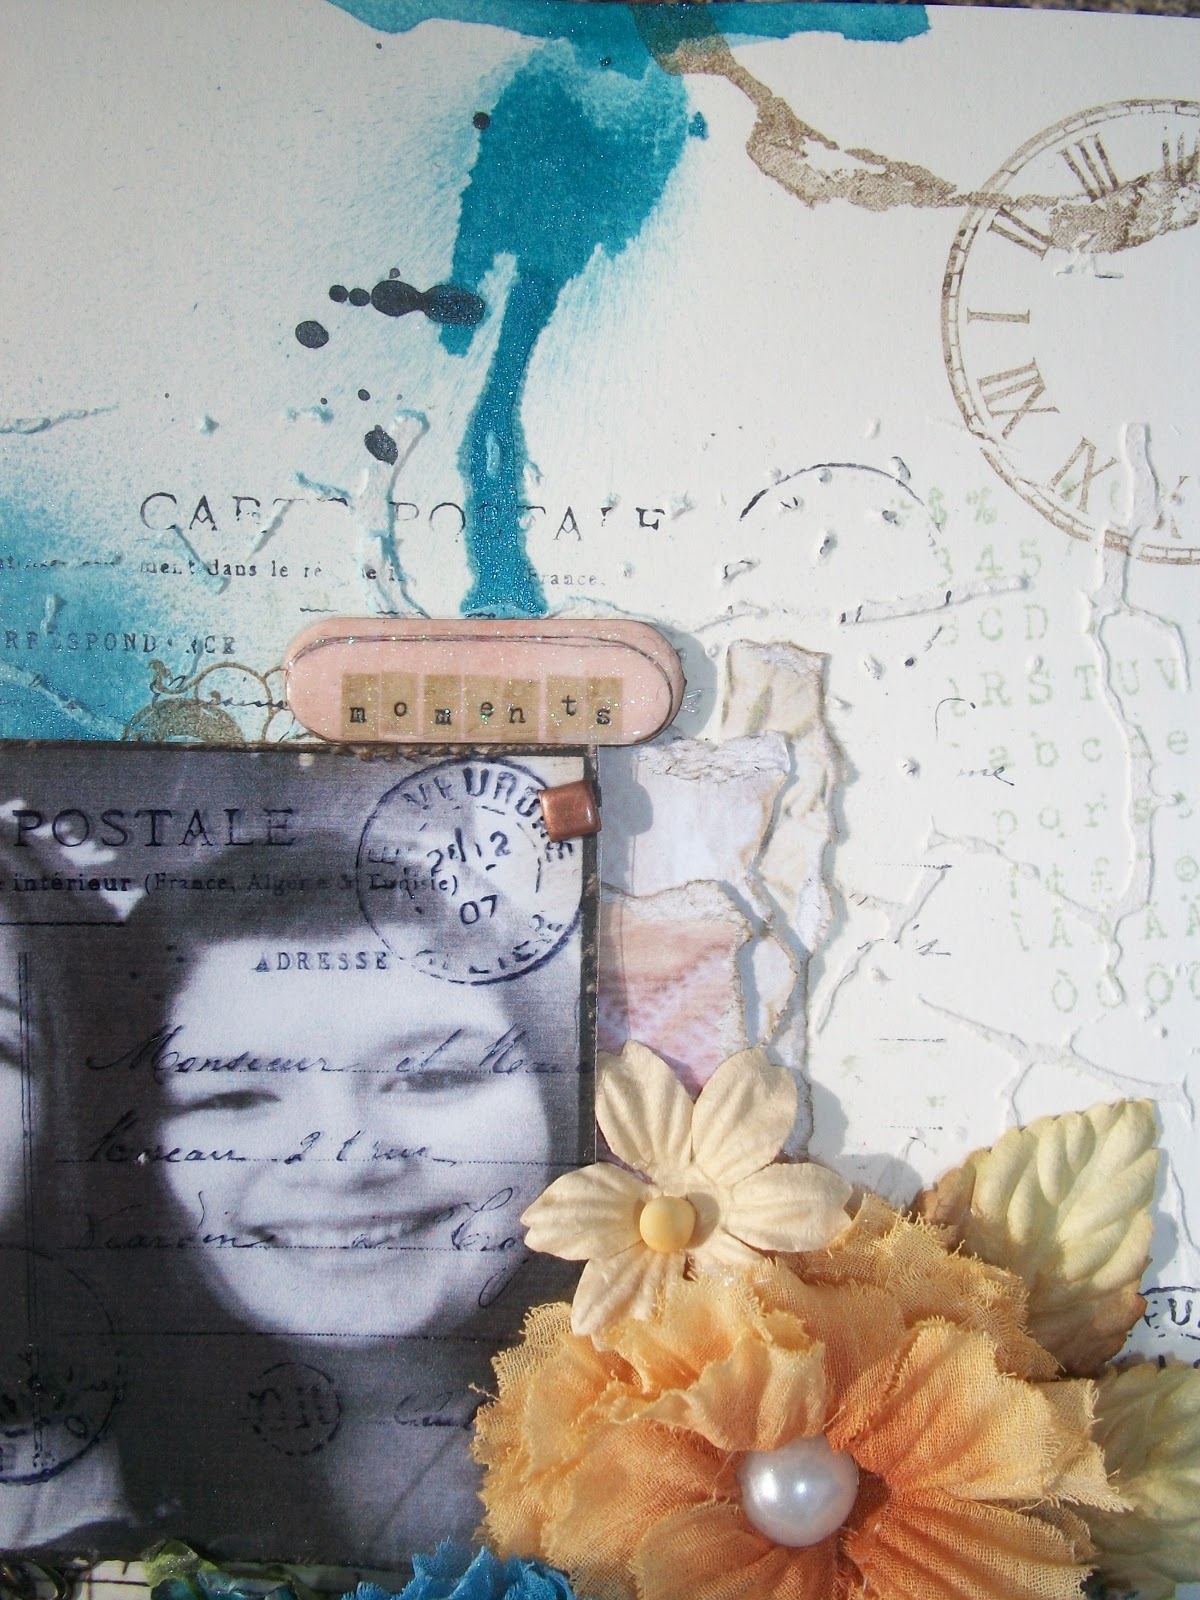
Today I wanted to focus on background texture I created using Tattered Angels glimmer mist, everyone needs some glimmer mist products they make your projects pop and come alive.
After I created the stucco and mask with a little stamping then came the coloring with glimmer mist!!
Tip #1
"Drippage"
Spray your glimmer mist close to your project and lift up your project to allow the glimmer is run in different direction heat set to keep the drips where you want them to flow.
Tip #2
"Splats"
Taking your glimmer mist and unscrewing the nozzle and splatting the nozzle over your project creates great little splats of color.
Here are my two beautiful daughters "sisters" to heart, it's been a bittersweet year for them, since my oldest daughter on the left has gone to college leaving her sister, friend and home. It's been hard for her sister on the right, always having her sis at home to chat with, fight with, sing with has been heartache without her sis around, but they were united this weekend has college year came to a close.
Tip #3
Texture chipboard
Die cut image with chipboard, add your favorite medium (I used VersaMark and Utee to create the tarnish look-roughed it up by using sandpaper to scrap some groves into the chipboard).
Spraying alot of glimmer mist over the chipboard pieces let it set up for a bit, heat set which creates a great worn look.
Love the way the mist create such different texture depending on what they are sprayed on..like the chipboard gears vs. paper...awesome!!
I encourage you to dig out your glimmer mist and play!




 Posts
Posts


