Monday, December 31, 2012

2012 Artwork Review

With 2012 coming to a close tonight I thought it would be a great idea to share my 2012 artwork in review, it's been a great creative year.
Wishing all of you a Happy New Year in 2013!!

Wow what a wonderful year 2012 has been even with life's ups and downs I have been through this past year. I am looking forward to a New Year, to a  new start, more creative artwork, learning more, exploring more, and to be brave...
My New Years resolution is simple: create art, learn something new, get organized and of course exercise more and eat healthier.
So what is your New Years Resolution going to be?

Happy New Year!!! Can't wait to see what you all create in 2013!
hugs, Peggy Lee

Friday, December 28, 2012

Portfolio - Layout

I hope everyone had a Merry Christmas. I'm looking forward to the 2013 year and all the possibilities that it brings.

For Christmas, I took this picture of my nephew and today, I thought I would share with you a masculine layout that I did using the photo.

 
A few months ago, Suzanne from FlamingoScraps.com - also an Artsy Addicts Member - shared with me the Pink Paislee's Portfolio collection and Heidi Swap's Vintage Chic collection. I instantly fell in love and this is the type of paper I HOARD!
 
Last night, I wanted to experiment with negative spaces and thought a "boy" layout was the perfect opportunity.  It was really hard to break away from flowers, bling, and my usual "busy" style.  It was a challenge to keep the layout "clean",  but I'm so happy with the results.  By adding all the layers, It makes the layout look full without being crowded. 
 
I allowed the text in the paper collection to be my title around the picture.  It reads left to right -  "Think Big, Today & Tomorrow and FOREVER - Seriously.   On the right it says "You Are.... so I filled in My Everything."  Kolton has told me I'm his favorite everything since he was able to start talking.  I placed a glassine bag behind the collaged paper and tucked a tag into the bag for my journaling spot.  On this tag, I wrote Kolton a note reminding him to always stay true to his heart, and never be afraid to follow his dreams.  I also hand wrote some things around the frame of the picture and the secondary title reflecting these thoughts as well.
 
I love how clean this layout is, and I'm so happy that I avoided cluttering it up.  If you want more details on how I did this layout, please watch as I recreate it Live on Ustream on January 7 at 8:30 est.   My channel is  http://www.ustream.tv/channel/gibbst
 
I hope everyone has a Blessed 2013. 
 
Thanks for stopping in today,
 
Tonya Gibbs
 
 
Resources:
  • Pink Paislee - Portfolio - Unbelievable.
  • Pink Paislee - Vintage Chic - Heidi Swapp, Just Dots paper
  • Pink Paislee - Portfolio - Ephemera Pack
  • Pink Paislee - Artisan Resist Stars
  • Pink Paislee - Artisan Boarders
  • Tattered Angels - Frozen Lake, and Silver Sugar Glimmer Mist
  • Ranger - Distress Ink - Gathered Twigs and Wild Honey
  • Sizzix - Tim Holtz  - Tiny Tags and Tabs Die Cut
  • Tim Holtz - Tiny Attacher
  • Glassine Bag
  • Tag
  • Misc. Washi Tape
  • Sewing Machine
  • EK Success Label Punch
 

Monday, December 24, 2012

Romance Novel Christmas Pin/Ornament

Upon this Christmas Eve I wanted a special Christmas pin to wear to Church service tonight. I thought why not use one of these store bought snowflakes (come in many colors) and add some Romance Novel paper scraps I have laying on my workspace. Couldn't resist using this Prima flower with bling turning out to be one of my fav's!!
 Added some Prima leaves (they were gold tone colors) I colored them with Tattered Angels Olive vine glimmer mist and Perfect Pearls Mist Heirloom gold. Tucked in a Prima Genie Stone to dangle and finish it with a pin back and you have a one of kind pin or ornament to give as a gift or wear.
(thought of Marion with the green gem stone)
                                                        so pretty pinned to a handmade scarf
                                                                    pretty side view

 Wishing you all a Merry Christmas,
Peggy Lee
http://pegbaker.blogspot.com

Supplies:
Prima-Romance Novel papers by Marion Smith
         -Genie Stones #556693
         -Pierott B Flower #562090
         -Leaves #170660
Tattered Angels-Olive Vine glimmer mist
Ranger-Perfect Pearls Mists-Heirloom gold
Martha Stewart-Doily punch
Snowflake ornament
Pin back and felt
Adhesive-glue gun and scor tape 1/4'


Friday, December 21, 2012

2013 Calendar Display

Hi everyone just a few more days until Christmas.  If you are looking for a last minute gift idea, I hope I can inspire you today.  

I love to make these calendars for co-workers, friends, and family and they are always well received.
It only takes a few hours to whip one out, and look at how elegant they are for a desk or counter top.


For my base I started with a MyTeddyBoo Eiffel Tower chipboard mini album page.  I covered it with Pion Designs Studio of Memories Paper.  Then softened the paper with some gorgeous lace trim.  I embossed the tower with Frantage Shabby Gold embossing powder. The gorgeous floral spray was made from a mixed selection of Prima flowers, a few Tim Holtz metal embellishments, a button and some stamped tickets from the Prima Songbird stamp collection.  The calendars are adhered with a spiral Christmas Tree hook that I got from the dollar store. 


On the back, the Tim Holtz Small Easel die was used to make the panel sit on desk.  I made a pocket to house the extra calendar pieces.
 
I created this Calendar printable as a thank you to all of my followers.  I hope you find a use for it in some of your 2013 projects.  You may download it on my blog. 
 
Thanks for stopping in today, I hope you have a Merry Christmas.
 
Tonya Gibbs
 
 
Resources:
 
MyTeddyBoo - Eiffel Tower Mini Album Panel
Pion Designs -  Studio of Memories Patterned Paper
Tim Holtz: Clock, number plate, Easel die
Prima: Flowers - Wrinkle Rose Cream, Mini Roses white, and Rosebuds Light pink from the classic collections.   and Leaves
Stampendous - Frantage Embossing Powder Gold
Lace
 

Thursday, December 20, 2012

Join Marion Smith - Live with Prima Tonight

Homemade Ornaments with Marion Smith
Thursday, December 20th at 6:30pm PT/ 9:30pm ET
12/21-2:30am GMT/ 1:30pm Sydney
 

It's finally time to make some truly unique ornaments for our trees! In this class we'll make ornaments using old book pages and Prima flowers and trinkets. There are many ways you can make these your own, they are so fast and easy to make too. I hope you'll join us for this jolly class!
...
Prima Products:
532260-Mulberry Rose Leaves
554224-Trinkets-Fairy Belle
891053-Chalk Edger-Raspberry Pie
930073-Vintage Trinkets
550479-Twill Black
pe-001-05- Classic Roses-Red
PE-002-30P-Classic Roses-Cream Pink
SA-002/1-1- Classic Red Mini Roses
PE-006-9-Classic Rose Cream

Extra Materials:
Old Book
Hot Glue
Sewing Machine (Optional)
Large Jump Rings


Monday, December 17, 2012

Christmas Eye Candy!!!

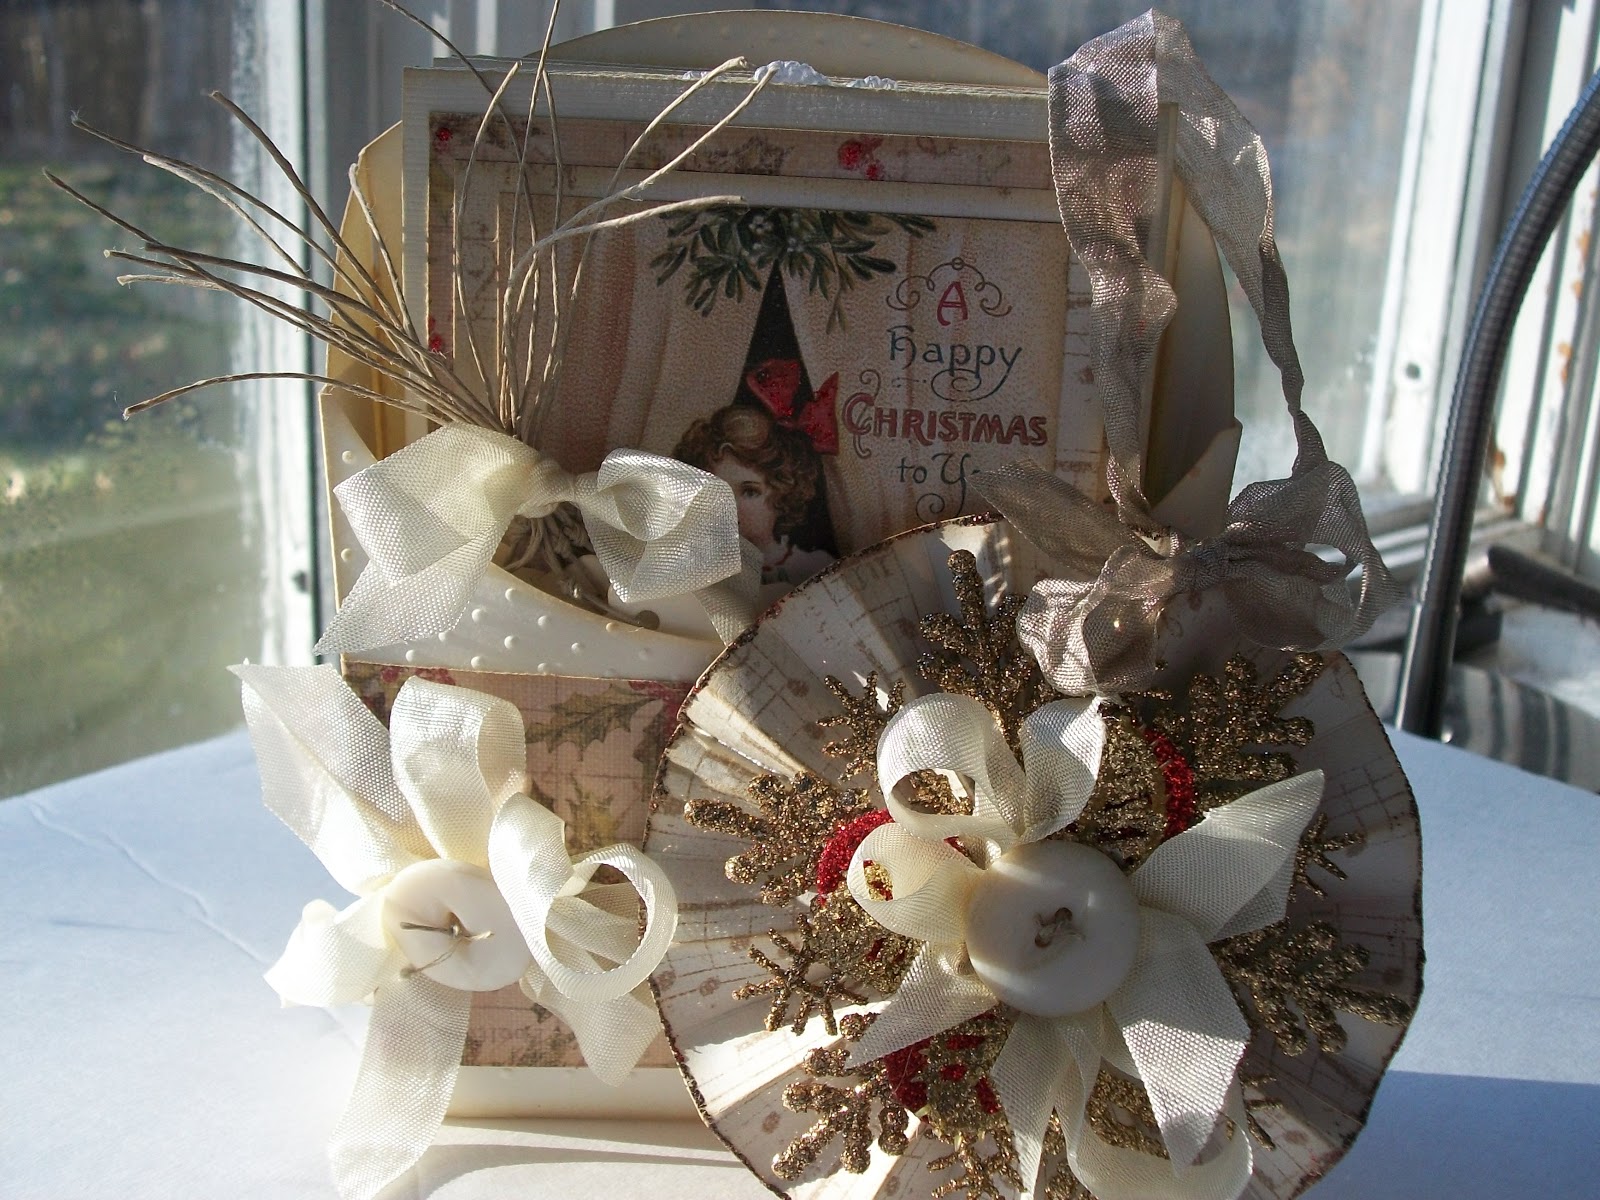
Giving some Christmas Cheer-my husband's work did a secret Santa exchange so he ask if I could create a card gift set and I was thrilled to create for him, so I started with a 12x12 cream card stock cut at 4 inches to make 3 cards 4x6 size (great way to save on card stock). I had purchased the Creative Imaginations IOD Christmas papers (Joy cards and Rejoice) at my local scrapbook store. I really love the vintage feel of this paper line and with my vintage mother of pearl buttons, seam binding and simple dollar store Christmas decorations...whoola beautiful gift set.
 Christmas eye candy - got to love those glittery and sparkly snowflakes (that come in many colors). Delish!
The gift set came with 6 one of kind cards with envelopes, an ornament, 8 gift tags and a french fry box (cut from the CTMH Artiste Cricut Cartridge). 
                              Simple and Vintage feel of spreading Christmas Cheer, Hope and Joy!!!!
enjoy creating,
Peggy Lee
http://pegbaker.blogspot.com

supplies:
Creative Imaginations IOD papers
Distress ink Antique Linen
Bazzil Cream Card stock
Vintage seam binding, buttons and twine
Holiday decorations
CTMH Art Philosophy Cricut Cartridge

Saturday, December 15, 2012

Guest Designer - Alease Roy

Hi, my name is Alease and I am a devoted wife and mother of a teen son and a 20 year old daughter. I have taught elementary school in the past and have been the owner of a very successful preschool business which was closed when our family moved to California. I am currently a SAHM and I am the caregiver of my beautiful mother.
 
I have a passion for crafting and take every opportunity to do so. I first began crafting seriously when a friend asked me to enter a craft fair with her over two years ago and have been crafting ever since. When I am not crafting, I am decorating around the house.
 
 
I found Artsy Addicts through a fellow crafter and was so inspired by the amount of talent that was on display. Marion has provided a wonderful place to go where you can share the same passion that you have for crafting with others and learn so much at the same time.
 
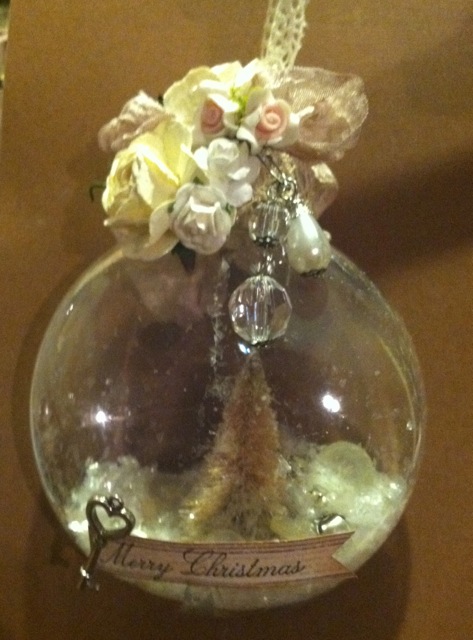
I would like to share with you my altered ornaments that I was inspired to make using scraps and other embellishments that I had in my stash. 


Thank you for this opportunity to share and I hope that it is an inspiration to someone. 
 

Alease
Follow Alease on  YouTube  and her blog for additional crafty ideas.
Related Posts Plugin for WordPress, Blogger...
 
Pin It button on image hover