Wednesday, May 16, 2012

5 Step mini Idea Board! 

Step 1. Start with a blank wooden frame from your local Micheals craft store.

Step 2. Paint the wooden frame inside and out with an acrylic paint such as Deco Art.


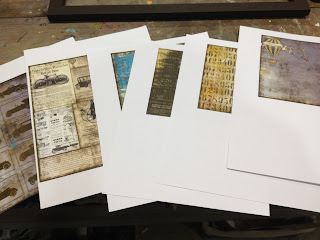
Step 3.    I picked some designed paper to glue to the background of my wooden frame. I chose                  to use the Planes, Trains, and Automobile collection from marionsmithdesigns.com. You can use any paper you prefer.


Here is the board that I glued the paper down on. I used Helmar glue.


I cut up the paper to fit the board the properly. You can also tear the paper to get a more distressed look. Remember to always listen to music you enjoy when creating as you can see I have my Ipad2 on the table with Pandora music playing.


All the paper is glued down. Now I just glued all of my newspaper clipping from the paper collection I downloaded.


Step 4. Embellish the frame. I used some epoxy resin to adhere the clips to the frame. 


Step 5. Now you can pin up ideas that you have to your new mini idea board. When you have some creativity blocks come up remember to refer back to your board for ideas to push you through. As always have fun crafting and enjoy all your ideas. 

Garett Smith


4 comments:

  1. Great idea, this would also be awesome in a teen or child's room to hang little reminders.  Love it!

    ReplyDelete
  2. oh I am loving this, thanks for sharing...I will be making one,,this would be perfect for father's day gift.

    ReplyDelete
  3. This would be great in my little boys room. He's turning 5 on Sunday. Thanks Garett
    Beautiful project.

    ReplyDelete

Related Posts Plugin for WordPress, Blogger...
 
Pin It button on image hover